

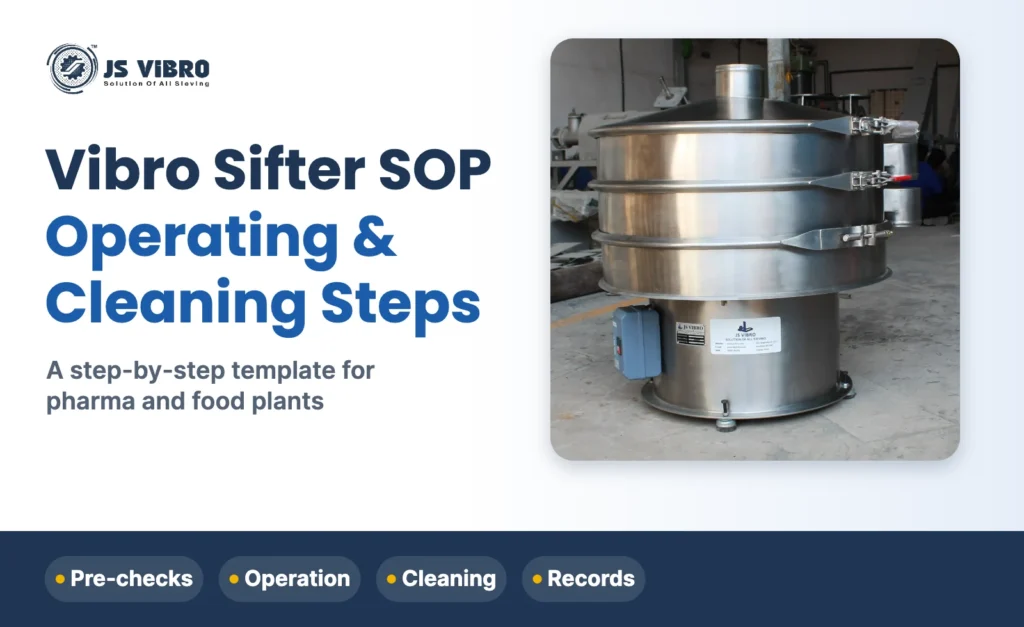
A vibro sifter SOP (standard operating procedure) sets out, step by step, how operators check, assemble, run, stop and clean the sifter, and what they record. A typical SOP has six parts: pre-start checks, assembly, start-up, operation, shutdown and cleaning, with status labels and a logbook entry at each stage.
Use the steps below as a starting template. Every plant must adapt it to its own machine, product and quality system, and pharma plants must validate the final SOP. If you are choosing a machine, see our vibro sifter manufacturer page for models and sizes.
1. Purpose and scope
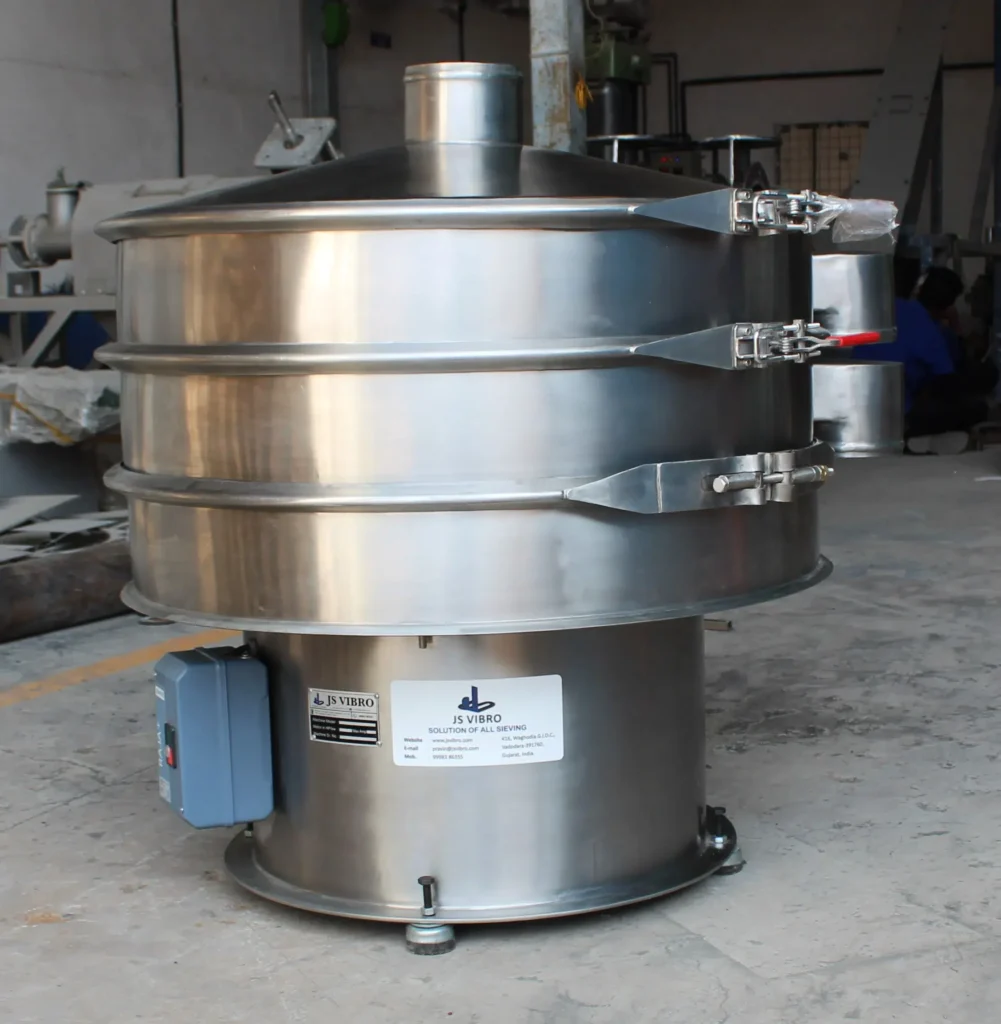
State what the SOP covers: for example, “the operation and cleaning of the 30 inch double-deck vibro sifter in granulation area 2”. Name the machine ID, the area and the products it handles.
2. Responsibilities
- Operator: follows the SOP and fills in the logbook.
- Supervisor: checks line clearance and signs off cleaning.
- Quality assurance: approves the SOP and checks records.
- Maintenance: handles any fault, screen damage or motor problem.
3. Pre-start checks
- Check the “Cleaned” status label on the machine and that it is within its validity period.
- Confirm line clearance: no material, labels or documents from the previous batch in the area.
- Check the screen of the right mesh size is fitted, with no tears, loose wires or gaps at the ring.
- Check gaskets are seated and undamaged, and clamps are tight.
- Check outlets are connected to clean, labelled containers.
- Check the earthing connection and the motor cable.
4. Assembly
- Place the bottom deck on the base and fit its gasket.
- Fit the screen (and ball tray, if used), then the next deck, in the order shown on the deck labels.
- Fit the lid and inlet sleeve.
- Close and lock every clamp band.
- Attach the “In use” label with product name, batch number and date.
5. Start-up and operation
- Switch on the sifter empty and listen for unusual noise or rattling.
- Start feeding slowly; increase the feed rate until material spreads across the screen without piling up.
- Watch each outlet: oversize from the top spouts, fines from the bottom spout.
- Do not overload the screen; a thick bed reduces separation.
- Check the screen at the intervals set in the SOP and record the checks.
- Stop at once if the screen tears, a clamp loosens or material leaks.
6. Shutdown
- Stop the feed and let the sifter run until the screen is empty.
- Switch off the motor and isolate the power.
- Collect and label all fractions, including oversize.
- Record quantities and any rejects in the logbook.
- Change the label to “To be cleaned”.
7. Cleaning
Dry cleaning (same product, next batch)
- Remove the lid and decks.
- Brush or vacuum residue from the screen, decks, gaskets and outlets.
- Check the screen for damage.
- Reassemble and label as cleaned, if the SOP allows dry cleaning between batches of the same product.
Wet cleaning (product change or end of campaign)
- Dismantle all contact parts: lid, decks, screens, gaskets, ball trays and outlets.
- Wash with potable water and the approved detergent, then rinse with purified water where required.
- Pay attention to the mesh, gasket grooves and clamp areas, where powder collects.
- Dry fully before reassembly.
- Inspect, reassemble and attach a signed “Cleaned” label with date and validity.
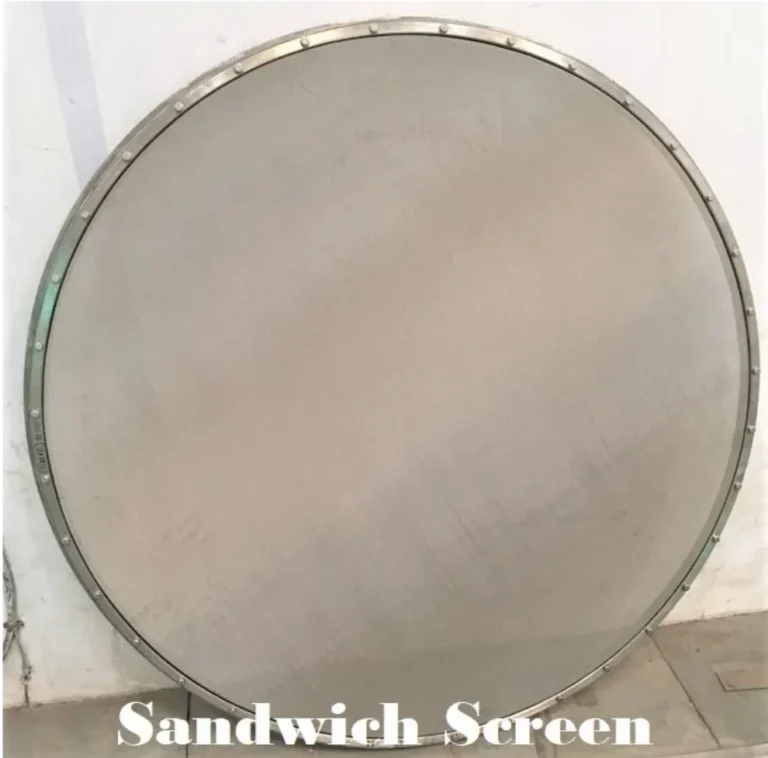
Our article on vibro sifter parts and their functions shows every part you will dismantle and clean.
8. Records
| Record | When |
|---|---|
| Equipment logbook (start, stop, product, batch) | Every use |
| Screen integrity check | Before and after each batch |
| Cleaning record with sign-off | After each cleaning |
| Status label | At every stage: in use, to be cleaned, cleaned |
9. Safety
- Never open clamps or put hands on the screen while the motor is running.
- Isolate power before cleaning or changing screens.
- Wear the dust mask and gloves the area requires.
- Use earthing and, in dust-hazard areas, an ATEX-rated sifter.
For pharma plants, our guide to GMP vibro sifters covers finish, documents and validation.
Frequently asked questions
What is a vibro sifter SOP?
A written procedure that tells operators how to check, assemble, run, stop and clean a vibro sifter, and what to record at each step.
How often should a vibro sifter be cleaned?
Dry cleaning between batches of the same product, if your SOP allows it, and full wet cleaning at every product change or the end of a campaign.
What is checked before starting a vibro sifter?
The cleaned label, line clearance, the right mesh size, screen condition, gaskets, clamps, outlet containers and earthing.
Why is the screen checked after each batch?
A torn screen lets oversize particles into the product. Checking it before and after each batch shows whether the batch is affected.
Can I use this SOP as it is?
Use it as a template. Adapt it to your machine, product and quality system, and validate it if you work under GMP.


