

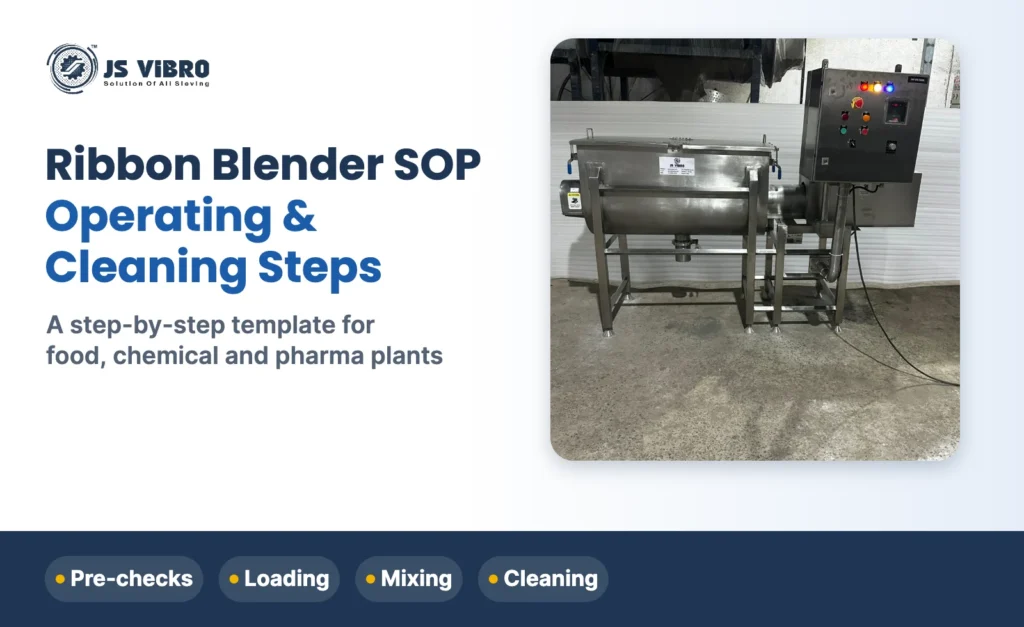
A ribbon blender SOP sets out how operators check, load, run, discharge and clean the blender, and what they record. It usually has six stages: pre-start checks, loading, mixing, discharge, shutdown and cleaning, with a status label and logbook entry at each one.
Use this as a template and adapt it to your machine and product; pharma plants must validate the final SOP. For machine specifications, see our ribbon blender machine page.
1. Purpose, scope and responsibilities
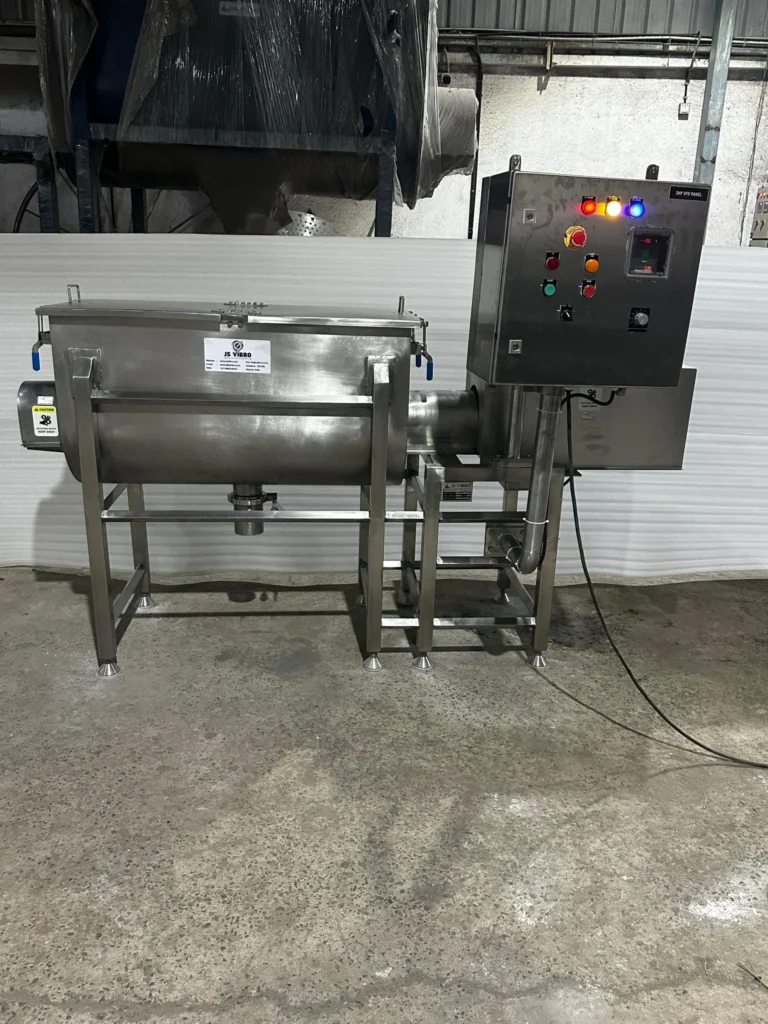
Name the blender ID, its area and the products it mixes. The operator runs the blender and fills in the log; the supervisor checks line clearance and cleaning; quality assurance approves the SOP and reviews records; maintenance handles faults.
2. Pre-start checks
- Check the “Cleaned” label is in place and valid.
- Confirm line clearance from the previous product.
- Check the trough, ribbons and valve are clean and dry.
- Check the discharge valve closes fully.
- Check the cover interlock stops the ribbons when the cover opens.
- Check earthing and that the emergency stop works.
3. Loading
- Close the discharge valve.
- Load the largest ingredient first, then the smaller ones, as your recipe says.
- Keep the batch within the working fill level, usually 40–70% of the trough volume.
- Add minor ingredients (under about 5% of the batch) in the middle of the load, or pre-mix them, so they spread evenly.
- Close the cover.
The capacity guide explains fill level and batch size.
4. Mixing
- Start the blender and run for the validated mixing time, typically 10–20 minutes for dry powders.
- If adding liquid, start the spray bar only after the powders are moving, and add at the set rate.
- Do not open the cover while the ribbons turn.
- Take samples at the set points if your SOP requires a uniformity check.
See ribbon blender mixing time and blend uniformity for sampling.
5. Discharge and shutdown
- With the ribbons running, open the valve slowly to discharge into a labelled container.
- Run until the trough is empty, then stop and isolate the power.
- Record the batch weight, time and any deviations.
- Change the label to “To be cleaned”.
6. Cleaning
- Same product, next batch: scrape or vacuum residue from the trough, ribbons and valve, if the SOP allows it.
- Product change: remove all residue, wash with potable water and detergent, rinse, and dry fully. Pay attention to the shaft ends, seals, valve seat and under the ribbons.
- Inspect, then attach a signed “Cleaned” label with date and validity.
7. Records and safety
| Record | When |
|---|---|
| Equipment logbook | Every batch |
| Mixing time and samples | Every batch, if required |
| Cleaning record | After each cleaning |
| Status label | At every stage |
- Never reach into the trough while the drive is live; isolate and lock off first.
- Keep the cover interlock working.
- Use dust extraction and the PPE your area requires.
Frequently asked questions
What is a ribbon blender SOP?
A written procedure for checking, loading, running, discharging and cleaning a ribbon blender, with the records to keep.
How full should a ribbon blender be loaded?
Usually 40–70% of the trough volume. Below about 30–40% it mixes poorly.
How long should a ribbon blender run?
For the validated time for your product, typically 10–20 minutes for dry powders.
When should liquid be added?
After the powders are moving, through a spray bar, at a set rate.
How is a ribbon blender cleaned at product change?
Remove all residue, wash, rinse and dry, paying attention to shaft ends, seals and the valve seat.


